Materials
Needed
-
Suggested materials are specific for each module. They are listed below within the descriptions for each lesson.
Lessons
Lesson 2.
Basic Stamping
[length 11:33] Jessica Krichels shares tips for introducing students to printmaking through the exploration of stamping.
Supplies needed: paint (tempera or acrylic), larger paint brushes, plates or trays (1 per color), household objects such as vegetables, corks, bubble wrap.
Lesson 3.
Making Stamp Pads & Homemade Stamps
[length 12:54] Learn how to create your own stamp pads and get tips to help students design and make their own stamps.
Suggested materials: paint (tempera or acrylic), salt, paintbrush, heavy duty fabric (e.g., felt, shop towels), plates/trays, scissors, thin paper (e.g., newsprint, copy), craft foam, cork or wood block, liquid or hot glue.
Lesson 4. Styrofoam Prints
[length 19:54] Try printing from styrofoam plates with wither paint or ink. After reviewing materials and project ideas, this lesson gives tips for supply distribution and cleaning.
Suggested Materials: newsprint, pencil & ballpoint pen, styrofoam sheets/meat trays, scissors, soft brayers (rollers), water-based block print ink (or thick paint), cookie sheets/trays for rolling out ink, extra paper (e.g., copy, construction), paper towels, spoon
Lesson 5. Soft Kut
[length 14:10] Jessica Krichels introduces relief printing using Soft Kut. She gives many tips for instruction while showing steps of the process.
Suggested Materials: Soft Kut or other relief print block, paper (e.g., copy, newsprint), pencil, Sharpie, carving tool, water-based block print ink, cookie sheets/trays for rolling out ink, soft brayers (rollers)
Lesson 6. Collagraphs
[length 22:55] Explore texture with collagraphs. This can be a low-cost, all ages way to create prints with supplies on hand.
Suggested Materials: cardboard/paper board, scissors, textured items, Modge Podge or white glue, glue brushes/Q-tips, water-based block print ink (or classroom paint & brushes), brayers (rollers), cookie sheets/trays for rolling out ink, paper (e.g., newsprint, copy, construction); optional: crayons/oil pastels, hot glue or tacky glue, spoon
Lesson 7. Monotype
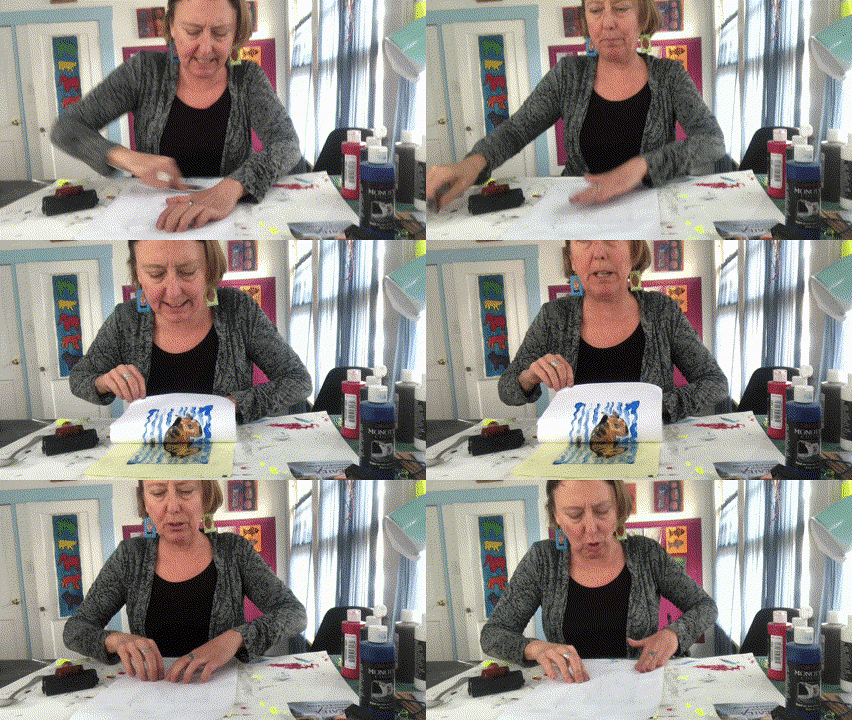
[length 21:15] Jessica Krichels shows how to create monotype prints using subtractive and additive techniques.
Suggested Materials: acrylic plastic or plexiglass sheets, monotype inks (Createx) or tempera paint, paint brushes, rinsing water, items to wipe away inks (e.g. Q-tips, pencils, cardboard pieces), spray bottles, old towels, thick paper (e.g., drawing, construction, printmaking), brayers or printing press, spoon